Welcome on board to TeacherKit 🙂
It is easy to get started with TeacherKit at your class.
Once you open TeacherKit, it will open on the home view where you see all your classes.
All you need to do is to add a new class or import your students data to a new class.
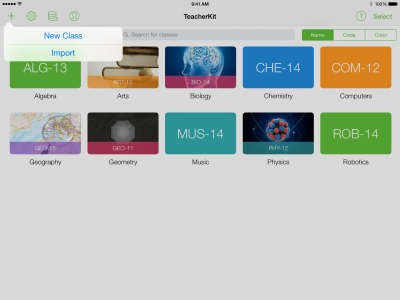
After adding a class,
tap on it and it will be opened.
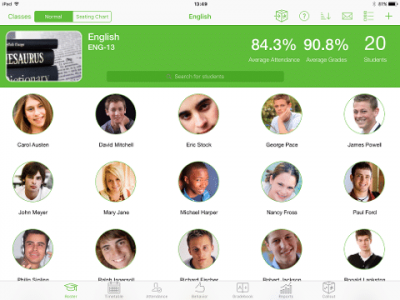
The class will open on the Roster view where you see all the students added to that class.
You can add your students in various ways:
After having your students added in your class, you can begin managing your class.
You have 6 main tabs inside the class:
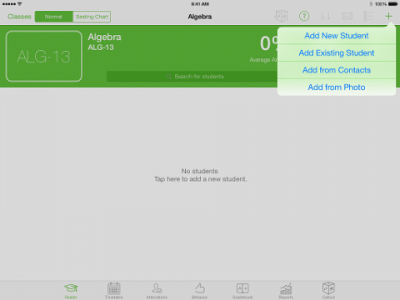
1- Roster
The main view where you can add, sort and search your students, view student’s card (by tapping on any student), communicate with students and parents easily via email and also us e the “Seating Chart” feature, arrange your students’ seating in the classroom the way they sit in the classroom.
2- Timetable
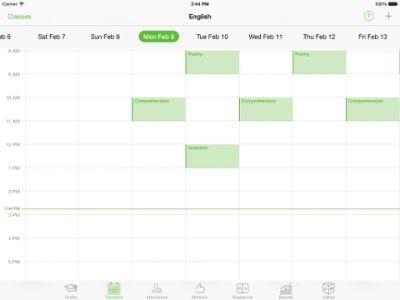
This is the view where you can configure/view your timetable and add your lessons in certain date and time.
3- Attendance
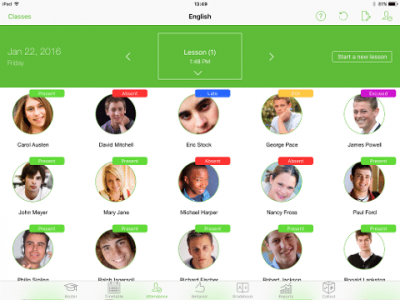
Simply you choose the lesson or create instantly a lesson (by one tap) and start taking attendance and change the attendance state by tapping on the student icon
4- Behavior
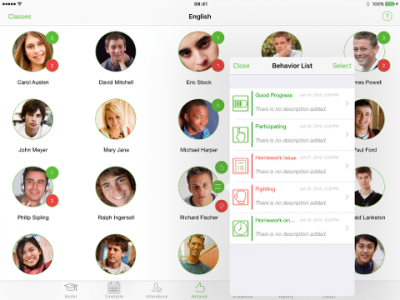
Appraise student behavior by inserting personalized notes to record positive or negative incidents by tapping on the student icon.
5- Gradebook
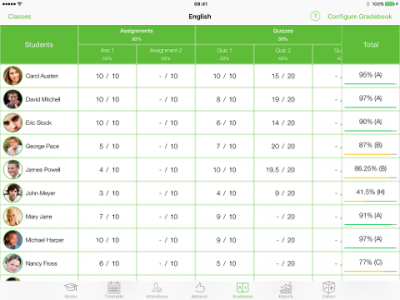
Log student grades as you add gradable items and categories in the intuitive Gradebook.
6- Reports
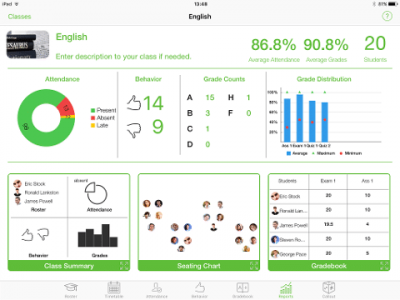
This view gives a snapshot on the number of students, their overall attendance, behavior and grades.
Added to that you can generate, share and print reports.
